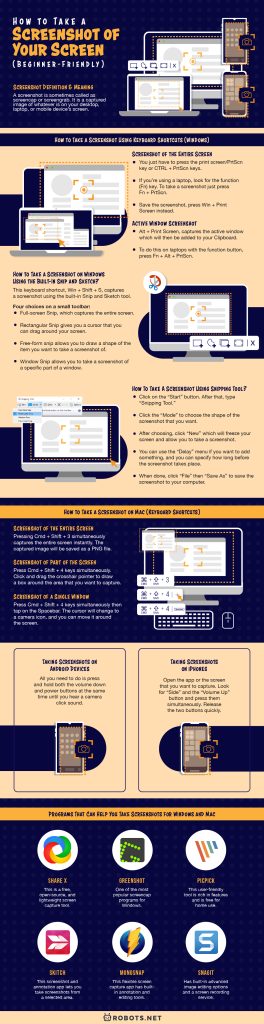
There are different ways on how to take a screenshot of our screen. and learning them will make it more convenient for us to have an image of what is being displayed on our screen and share images that can’t be edited. With the use of screenshots, we don’t have to download any images. More importantly, texts and any other important details found on the screen are captured. All important information can be sent without leaving any details. In this article, we will discuss what a screenshot is, how to take a screenshot using different devices, and some of the programs that will help us to easily take a screenshot on our devices.
Screenshot Definition & Meaning
A screenshot is sometimes called as screencap or screengrab. It is a captured image of whatever is on your desktop, laptop, or mobile device’s screen. Since the screenshot is not editable, it can help you to prove a point during any talk. Moreover, it lets you capture the image of what is exactly on the display on your screen that you can share with others clearly and concisely. Furthermore, it can also be used for later reference. It is also the most effective way to speed up communication since it captures everything on the display. With that, you can deliver your message straight to the point.
How to Take a Screenshot Using Keyboard Shortcuts (Windows)?
Screenshot of the Entire Screen
You just have to press the print screen/PrtScn key or CTRL + PrtScn keys. Windows would then take a screenshot of your screen which will then be on your clipboard. To save it, paste the photo on either Word or Paint. If you’re using a laptop, look for the function (Fn) key. To take a screenshot just press Fn + PrtScn. If you want to save the screenshot, press Win + Print Screen instead. The image is saved automatically in the Pictures library under the Screenshots folder. For laptops that have the function key, just press Fn + Windows + PrtScn.
Active Window Screenshot
This keyboard shortcut, Alt + Print Screen, captures the active window which will then be added to your Clipboard. Since this does not save the captured image, you need to open the image in an image editor or photo editing app to save it. Moreover, it doesn’t make a backup copy of the image in the Pictures folder. To do this on laptops with the function button, press Fn + Alt + PrtScn.
How to Take a Screenshot on Windows Using the Built-In Snip and Sketch?
This keyboard shortcut, Win + Shift + S, captures a screenshot using the built-in Snip and Sketch tool. Using this will make the screen dim and change the current mouse pointer. However, the image captured is not saved but sent only to the Clipboard. You will be given four choices on a small toolbar.
Full-screen Snip, which captures the entire screen. Rectangular Snip gives you a cursor that you can drag around your screen. The captured image is rectangular. Free-form snip allows you to draw a shape of the item you want to take a screenshot of. Window Snip allows you to take a screenshot of a specific part of a window.
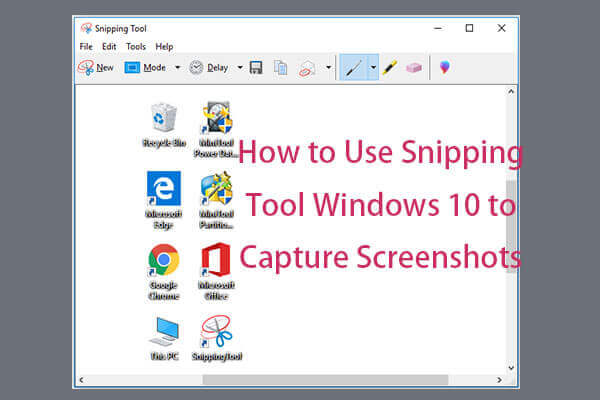
How To Take A Screenshot Using Snipping Tool?
How to Take a Screenshot on Mac (Keyboard Shortcuts)?
Screenshot of the Entire Screen
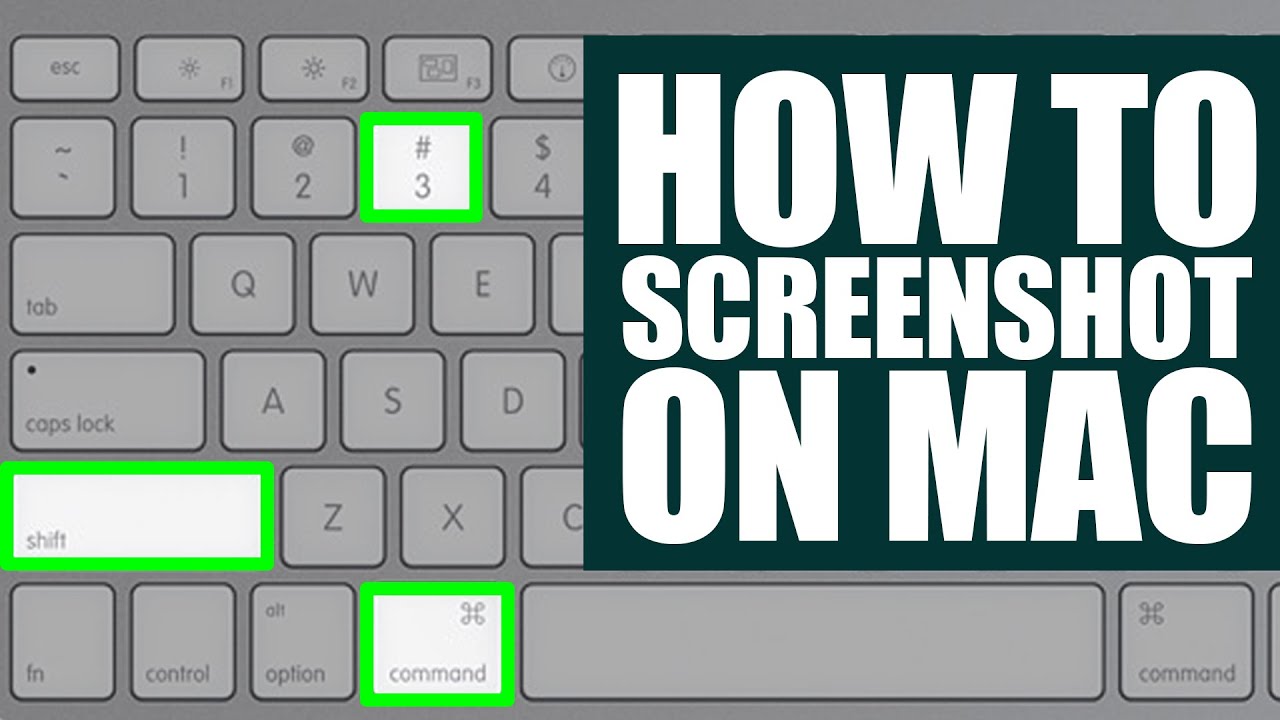
Pressing Cmd + Shift + 3 simultaneously captures the entire screen instantly. The captured image will be saved as a PNG file. On the other hand, pressing Cmd + Shift + 3 + Ctrl saves the captured image to the clipboard that you can paste into other applications like Word, PowerPoint, Photoshop, and many others.
Screenshot of Part of the Screen
Press Cmd + Shift + 4 keys simultaneously. Click and drag the crosshair pointer to draw a box around the area that you want to capture. Let go of the mouse button to take the screenshot, and it is saved automatically on your desktop as a PNG file. However, if you want to save the screenshot on the Clipboard and paste it to another application, press Cmd + Shift + 4 + Ctrl.
Screenshot of a Single Window
Press Cmd + Shift + 4 keys simultaneously then tap on the Spacebar. The cursor will change to a camera icon, and you can move it around the screen. As you move over the cursor over a window, the window will be highlighted with a light blue overlay. Hover over the window that you want to capture and click the mouse. The captured image will be then saved using the PNG file type. On the other hand, to save the screenshot to your Clipboard, press Cmd + Shift + 4 + Ctrl keys simultaneously and tap on the Spacebar.
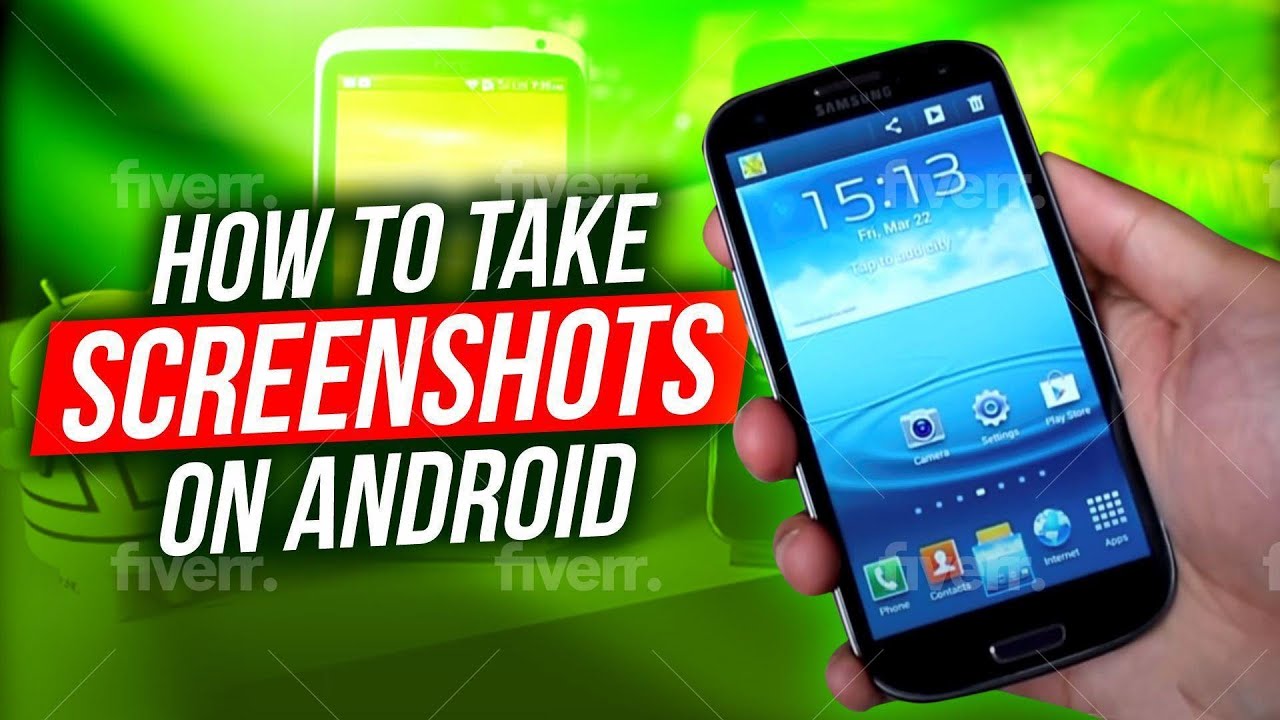
Taking Screenshots on Android Devices
Capturing a screenshot on Android devices usually involves pressing two buttons simultaneously. All you need to do is press and hold both the volume down and power buttons at the same time until you hear a camera click sound. You will hear a camera shutter sound, and you will see a thumbnail of your screenshot. On some devices, you will see a short onscreen animation followed by a notification indicating that the action was successful. However, there are also devices that the buttons that you need to use are the “Home” and the “Power” buttons pressed at the same time. On the newer versions of Android phones, simply swipe your three fingers up or down on the screen to capture a screenshot.
Taking Screenshots on iPhones
With Face ID
With Touch ID and Side Button
With Touch ID and Top Button
All your screenshots are saved on your device’s Camera Roll. To view them, open the Photos app and check your Camera Roll until you see the screenshot that you took.
Taking Screenshots While Playing A Game
It is still possible to take high-quality screenshots while you are playing a game. However, you need to open the Game Bar first. It is a built-in app that lets you take a full-screen screenshot or record a video of your screen. Just press the keyboard shortcut, Win + G, to access it, and click the camera button to take the screenshot. On the other hand, you can capture the entire screen by using the keyboard shortcut, Win + Alt + PrtScn. However, before you can do it, you have to make sure that your screen capture feature is enabled. You just have to go to Settings, click on Gaming, and click Game Bar. Also, you need is to active the Record game clips, screenshots, and broadcast using the Game Bar. The screenshots are saved in PNG format, and you can find them on the Videos library in the Captures folder.
How to Take a Screenshot on a Microsoft Software Device?
Screenshot of the Entire Screen
Tap and hold down the Windows key and hit the Volume Down button on your Microsoft Software device. It is the most basic way to take a screenshot fo whatever is on your screen. On the other hand, you can also press the Windows and PrtScn keys simultaneously. You can do this if there is a PrtScn key on your type cover. The screenshot will be saved on the Pictures library in the Screenshots folder.
Screenshot of Just the Active Window
Press and hold down the Alt key and hit the PrtScn key to take a screenshot of the active window. If your device has OneDrive installed to it, your screenshot will be saved on your OneDrive’s Pictures library.
For a More Precise Screenshot
You can use the snipping tool feature of your device if you want to capture a more precise screenshot. You can capture a part of the window and even the whole window area.
Programs That Can Help You Take Screenshots for Windows and Mac
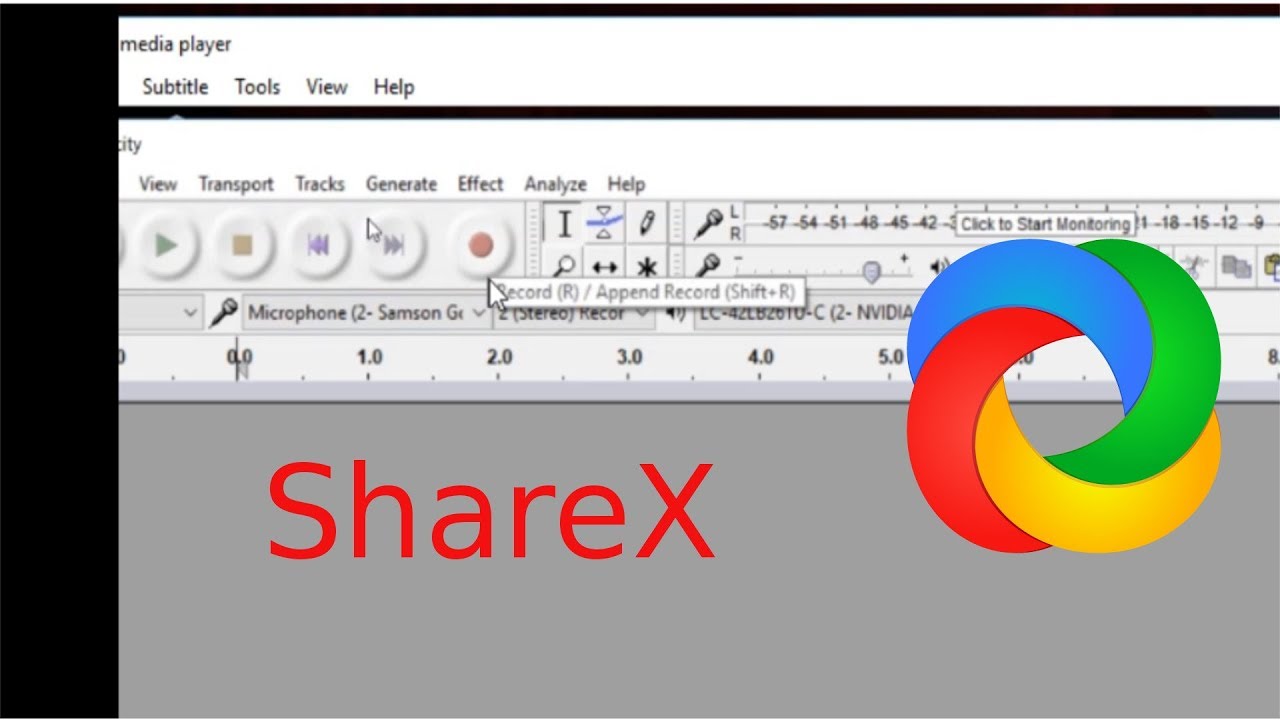
Share X
This is a free, open-source, and lightweight screen capture tool. Its main feature is the ability to take a “Scrolling Capture” of any program or application on your computer. Moreover, it offers powerful features like screen recorder, file sharing, and productivity tools (screen color picker, image editor, and QR code generator). Also, it offers customizable workflows and annotations that let you edit and convert your screenshot to PNG, save in Google Drive, create small images, and upload thumbnails. Additionally, it supports a whole lot of services to help you upload your files.
Greenshot
This is a free and open-source screen capture tool that is one of the most popular screencap programs for Windows. It lets you take a screenshot of your entire desktop, a window, and a region. Its classic user interface makes it user-friendly. Moreover, it features a Preferences window that includes different options of taking a screenshot. Also, you can right-click on the system tray icon that lets you select an option for screenshot-taking. You have an option to annotate and highlight your screenshots as well. Furthermore, its user-friendly selection tool has a magnifier that lets you select your preferred part of the screen only.
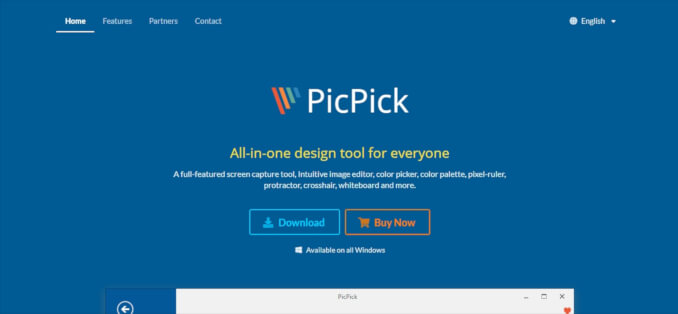
PicPick
This user-friendly tool is rich in features and is free for home use. You can use this to resize and crop screenshots, add text boxes, apply effects, and add comments and stamps for screenshot annotation. It provides a list of editing features, which include screen capture tool, protractor, image editor, color picker, color contrast, whiteboard, pixel ruler, and many others. Moreover, it can be for home and business use. Also, it features a share tab that lets you upload your screenshot to different social media platforms.
Skitch
This screenshot and annotation app lets you take screenshots from a selected area, bet it a full screen, a window, or a specific menu. It also lets you have a high-quality screenshot with its editing tools. These include arrows, lines, shapes, highlights, and callouts. Moreover, it has a Camera mode that lets you capture selfies using your webcam. You can directly upload and attach a screenshot you took to emails when you captured them via this program. More importantly, the editing options can be easily found because they are under one menu.
Monosnap
This flexible screen capture app has built-in annotation and editing tools, making it a great aid for desktop productivity. It lets you capture the entire screen, some part of the screen, or a selected area. Moreover, its annotation tools allow you to add arrows, shapes, and effects. Also, you can upload the image to the Cloud, to Monosnap, and be able to share them with provided URLs.
Snagit
This screenshot application has built-in advanced image editing options and a screen recording service. Not only it takes screenshots, but it also takes and trims video recordings, creates animated GIFs, and takes panoramic and scrolling captures. You can preview your screenshots through the Preview Window and move your mouse to zoom in. Also, it lets its users edit the images in terms of size, special effects, and others. Moreover, it has a quick toolbar that helps in speeding up the screen capture process.
Showcase Your Editing Talents With Your Screenshots
With today’s technology, it’s very easy to take pictures and upload them to different social media platforms. However, there are situations where you need to take the screenshot of what is on your screen. Those are the times when you want to prove that what you uploaded or shared is the truth and is not edited. While you can add annotations to your screenshots and add some editing, you can’t manipulate its content. In a way, you can show your talent in editing by adding text boxes, highlights, shapes, and many others. You can even enjoy the times when you were editing and have fun taking screenshots and sharing them with friends. If you’re looking for more how-to guides, check out our articles on how to change desktop icons to custom pictures, how to free up space on Mac, and how to format a hard drive.


![]()